The paddle technique dates back to Pre-Inca times. As in the traditional way, I use my hands and feet to create my ceramic pieces. The materials and tools are simple. I use clay and rustic tools such as rounded rocks and wooden paddles. As I begin work on a piece the shape emerges. I do not start my work with an image in my mind. Instead, I allow the clay, the earth, speak to me. There are many stages to the creation of each piece and attention to detail is my objective.
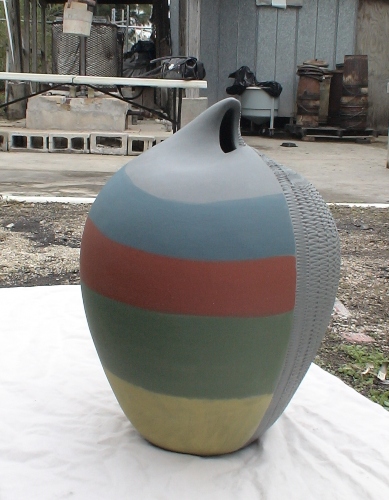
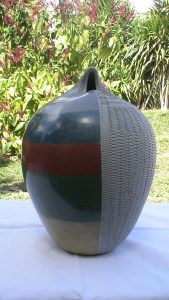
The vases are formed in the shape of a nest of a Peruvian bird called “Chilalo”. According to tradition, this bird is a Master Potter who builds his nest from clay using his beak and feet. It is this bird who taught my ancestors how to work with clay. I include bird figurines in my work to honor them. The pieces are pit-fired using wood. I incorporate color by using clay engobes (earth oxides and minerals) and various smoking processes to obtain different hues and rich black finish my work is known for. The form and style of my work reflect the duality of our lives. The smooth side represents the beauty in life, the rough textured side represents the difficult times we all face. My designs and colors are inspired by events in my life, my ancestors, the world around me, and the universe as a whole. Each piece is unique and never repeated. I am available for demonstrations, workshops, exhibitions, and conventions. Thank You, Polo.
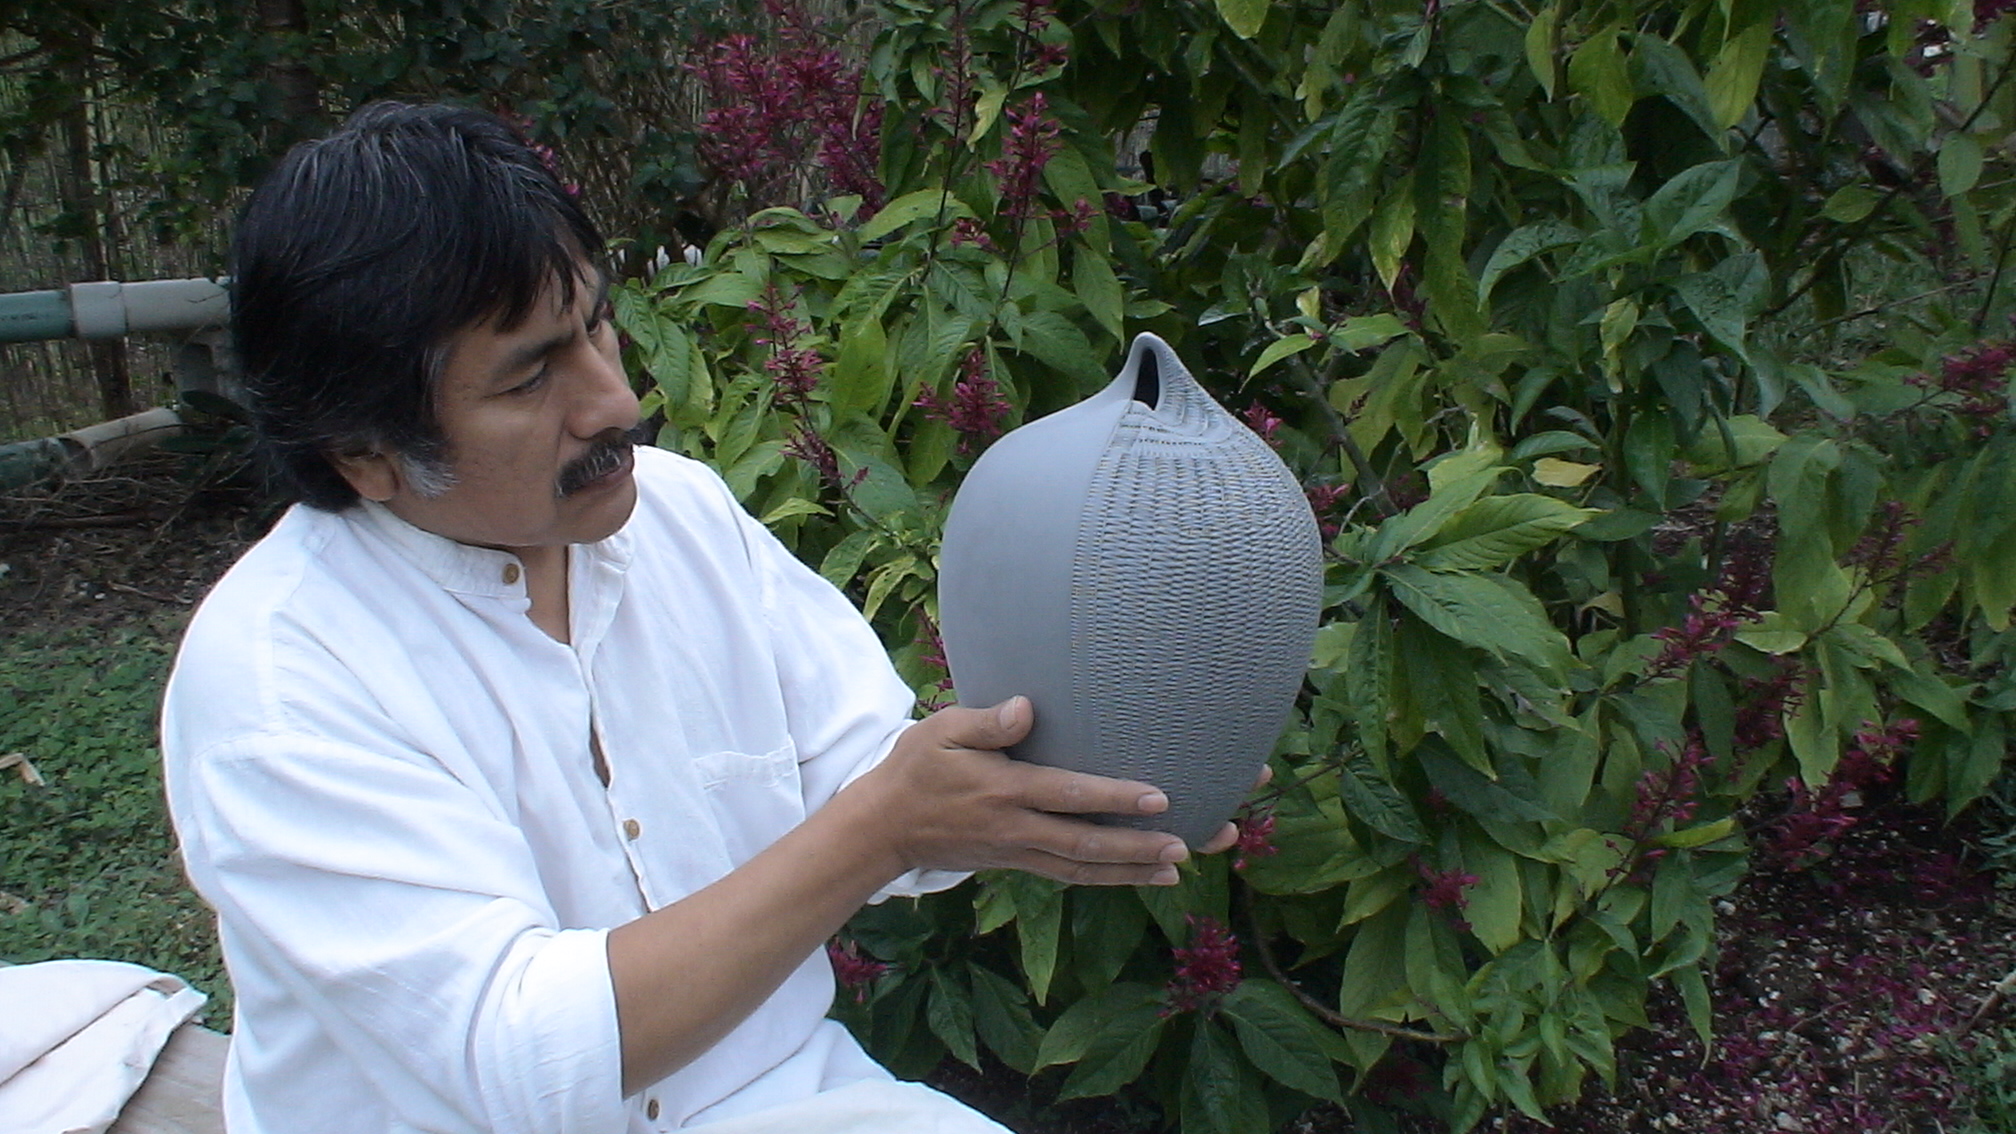
The Potter Polo Ramírez.
Anterior
Siguiente
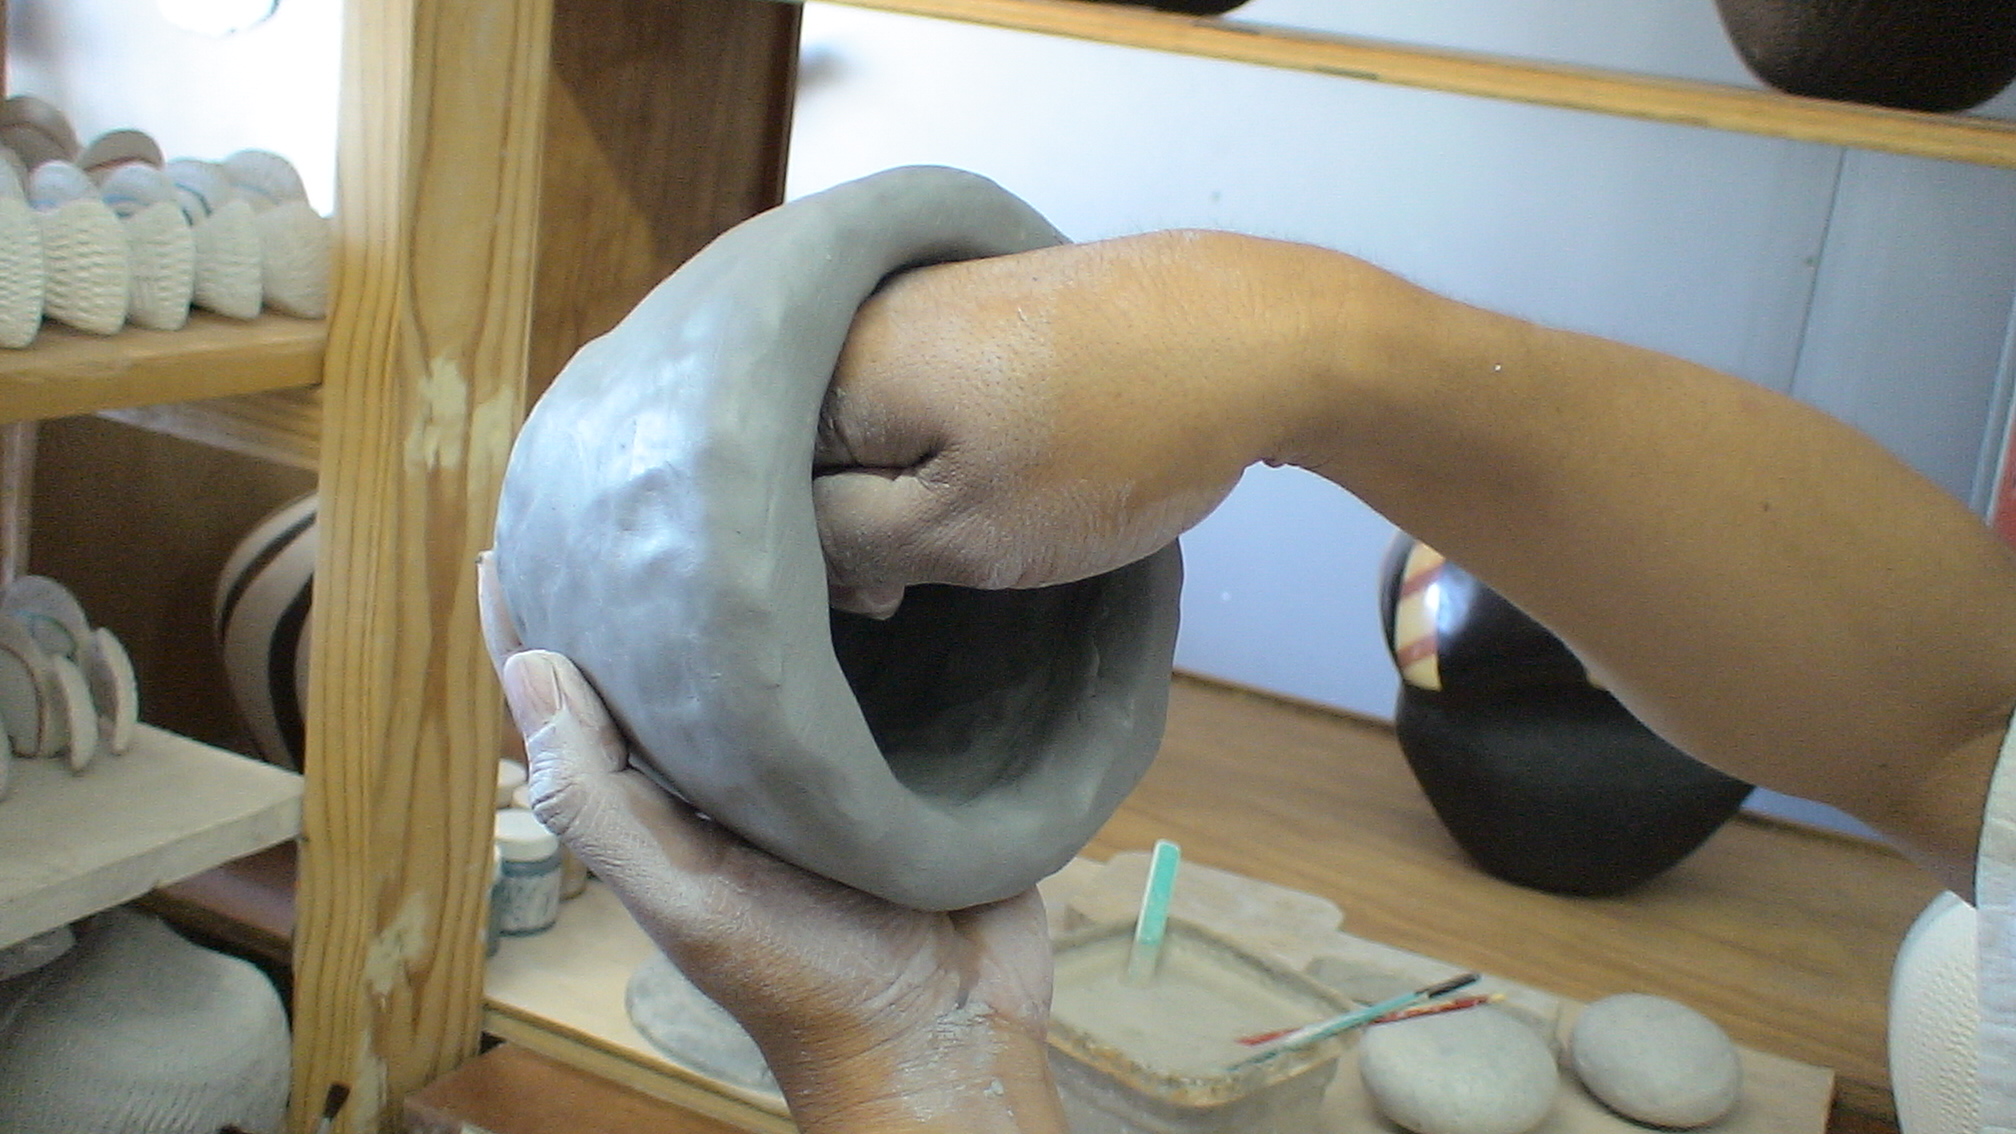
Day One- The Beginning
I start with a ball of clay. Using my hands and fist, I begin to create a bell or cone shape. The cone is hollowed by punching with my fist. Once the shape is complete, it is left to air-dry overnight.
Anterior
Siguiente
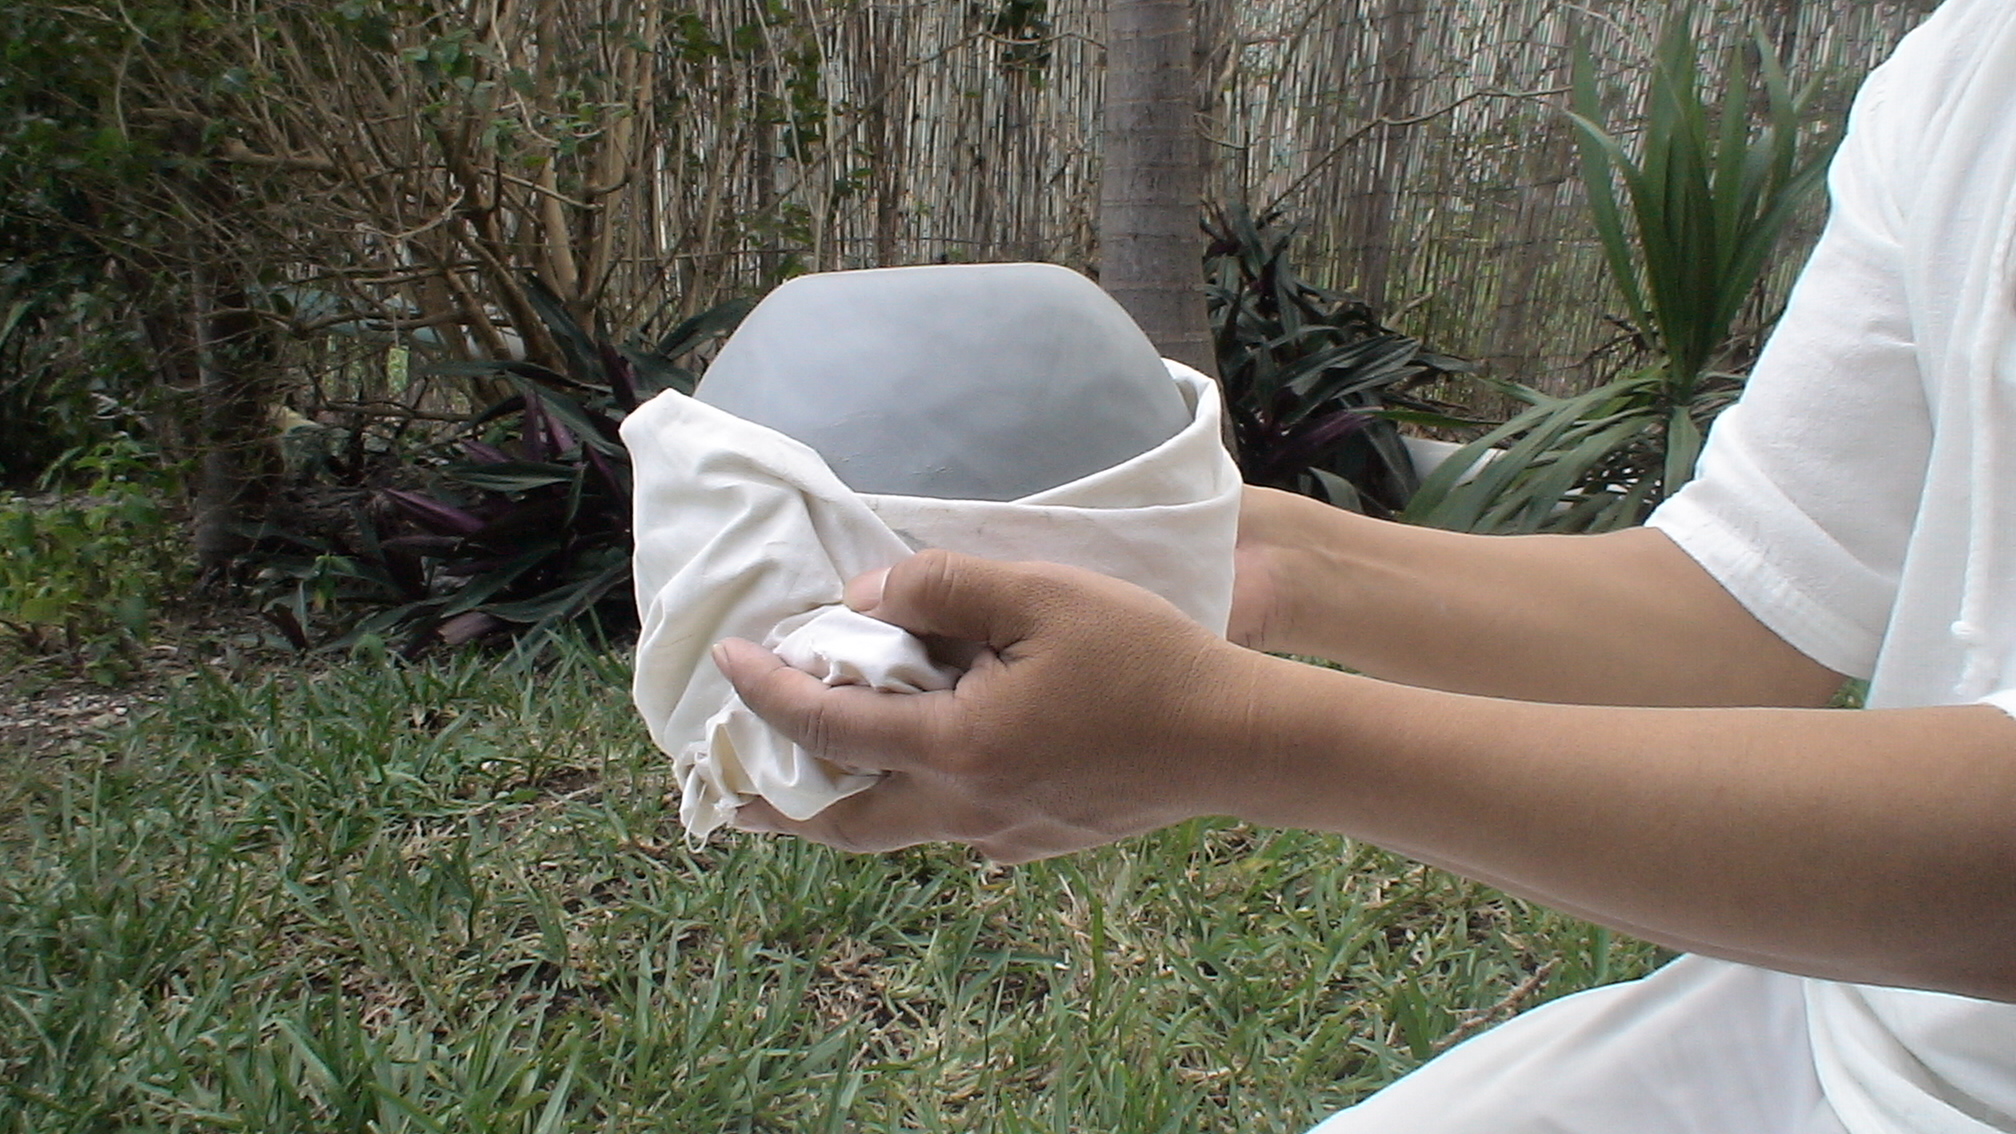
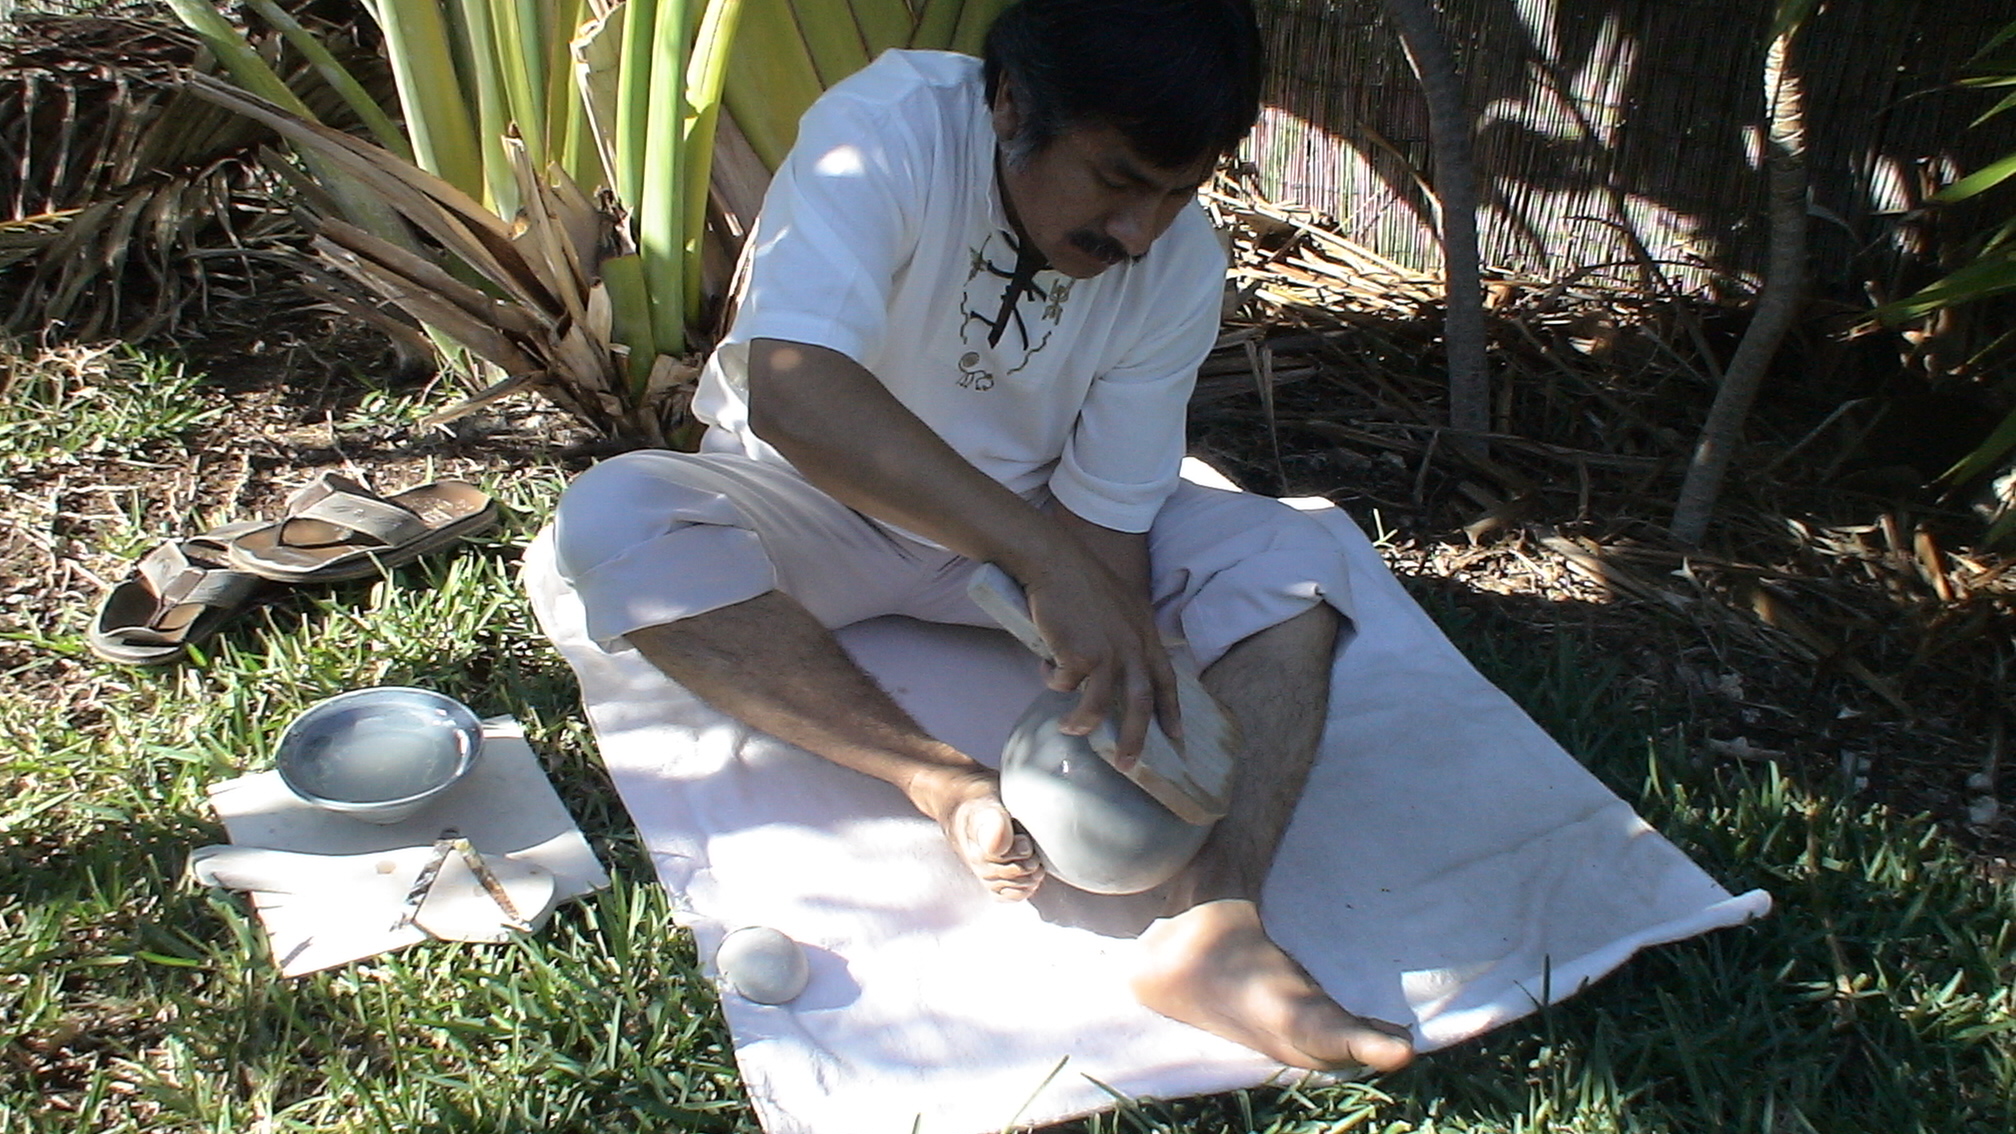
Day Two “Paddling and Smoothing”
I hold a round stone in the hollow of the cone. I thin the walls on the lower part of the cone by rotating the stone while paddling the bottom half. Using my feet, I support and turn the bowl. Overnight, it is turned over. I wrap the thicker “lip” and leave the thinned, closed bottom portion exposed.
Anterior
Siguiente
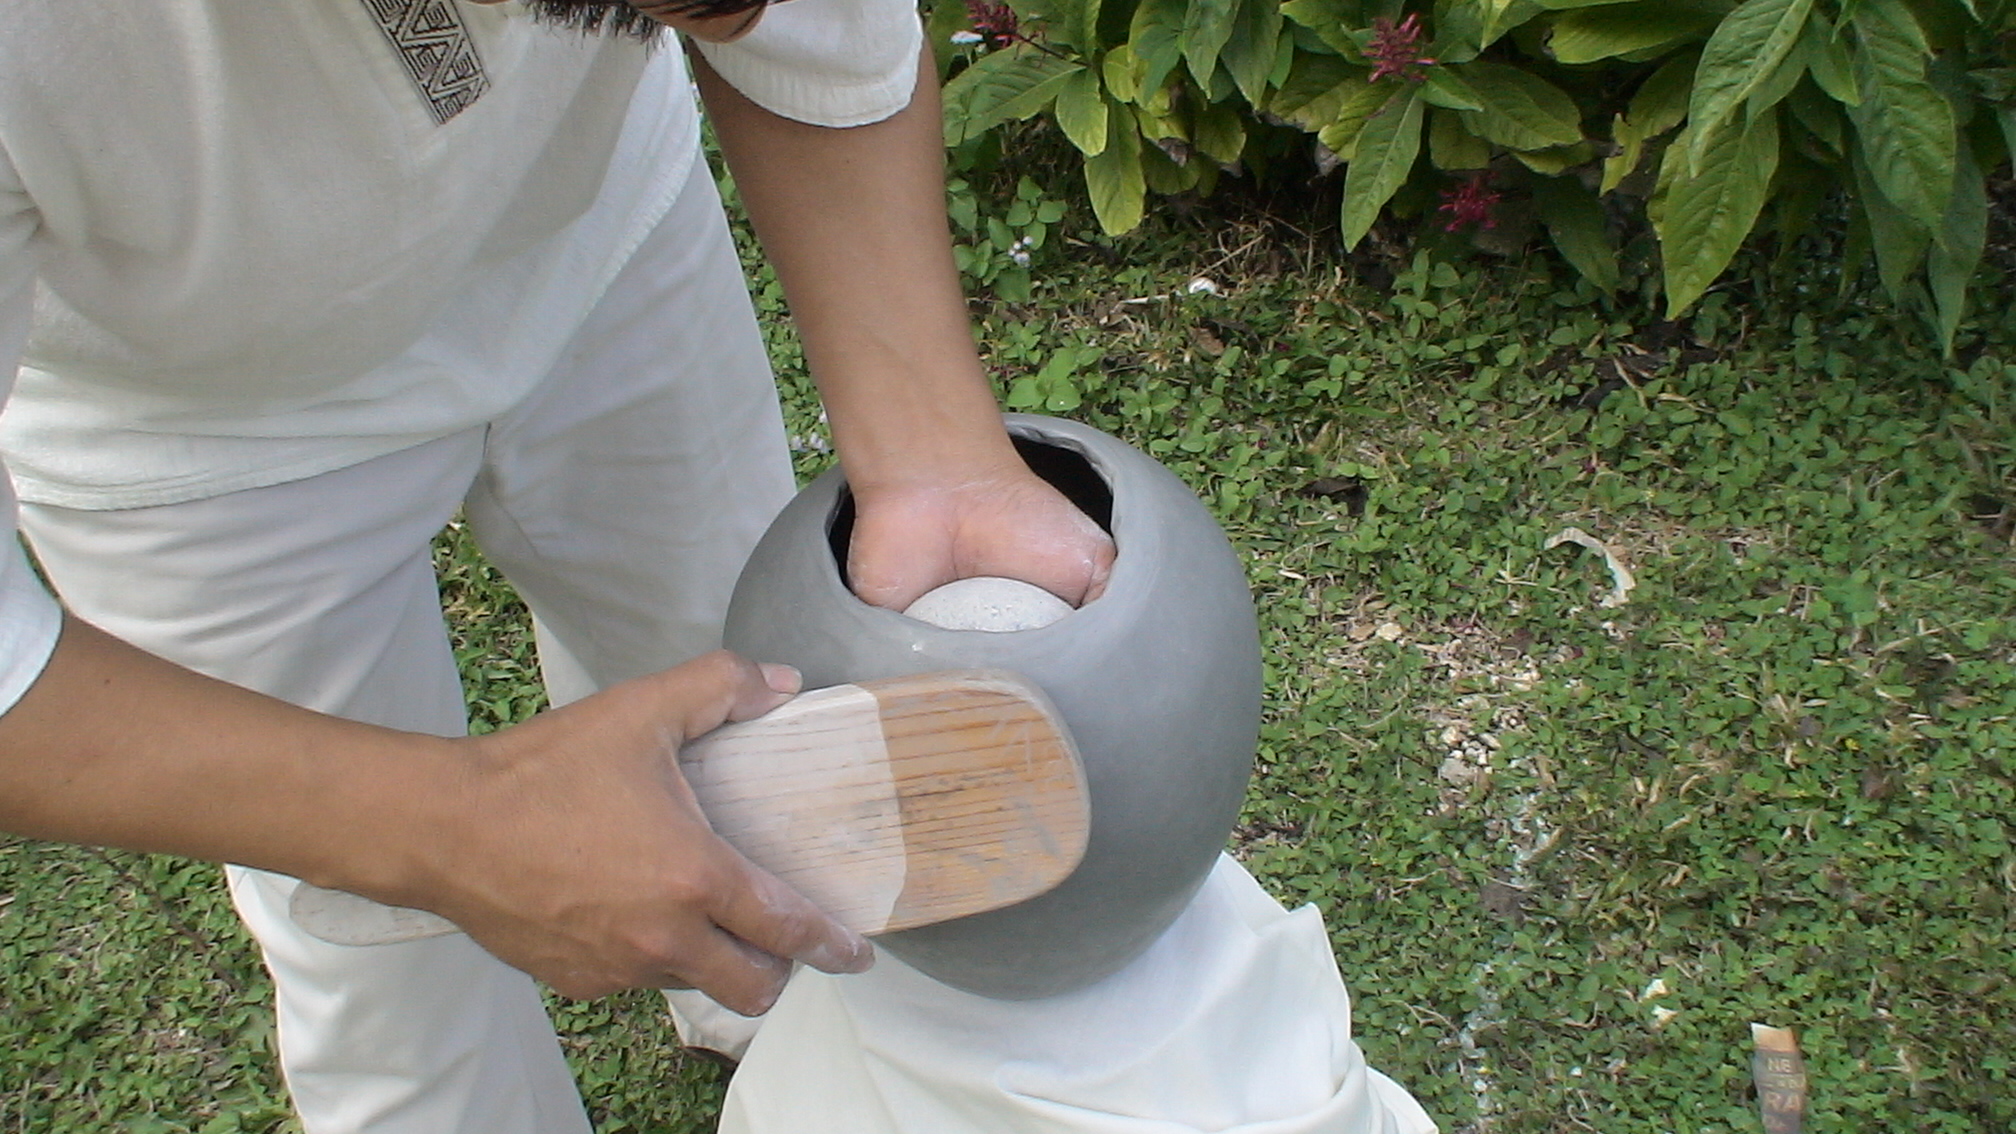
Day Three “Paddling and Building Up”
I continue to thin the clay in the upper half using the stone and paddle technique. I use a smaller stone to narrow the neck. For my last step, I make a collar by scoring the top edge and adding a bit of water. Then, I add a small coil and shape it. When the piece is done, I wrap the bowl, leaving just the neck exposed, until the next day.
Anterior
Siguiente
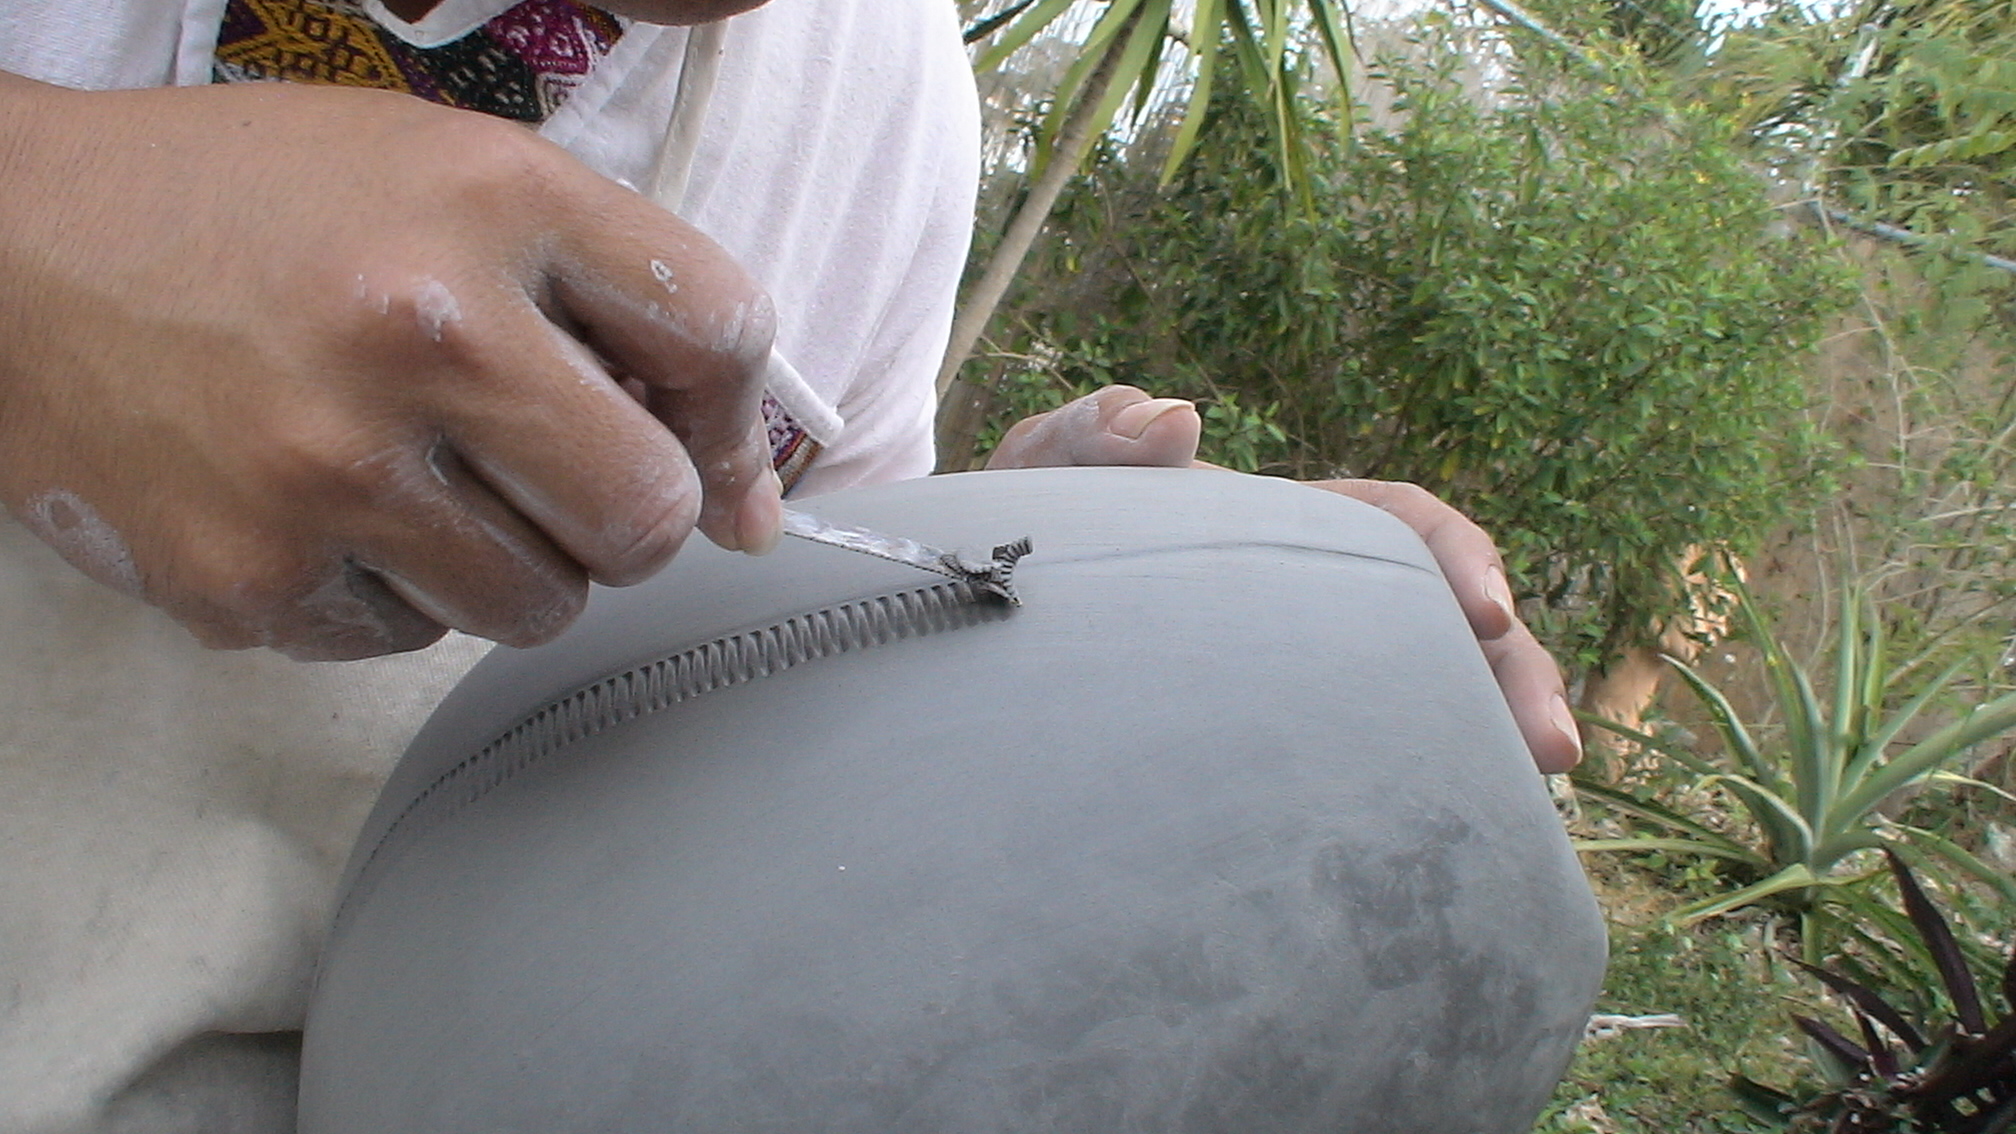
Day Four “Scraping and Texture”
The piece should now be leather hard. I smooth the collar and shape it with a rock from the inside. I can gently alter the shape at this point. Using a hacksaw blade, I scrape and clean, and then smooth until a uniform surface is achieved. I add texture by scraping and etching, and my design begins. When the design is complete, the piece is left covered overnight.
Anterior
Siguiente
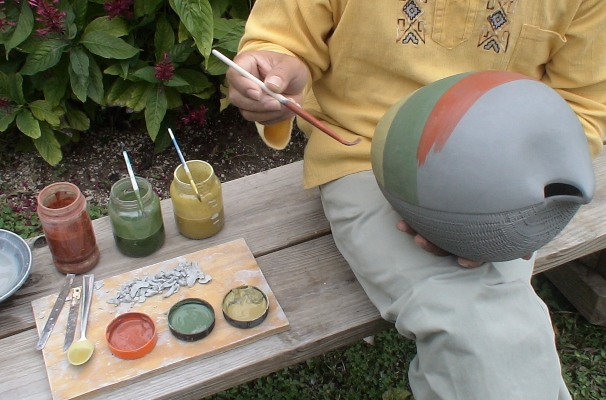
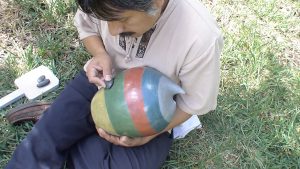
Day Five “Painting and Decorating”
While the piece is still leather-hard, I paint it using “Engobes” (a mix of clay and oxides). I apply 1-3 coats. Once my design is complete, it is left completely covered with a dry cloth or plastic.
Anterior
Siguiente
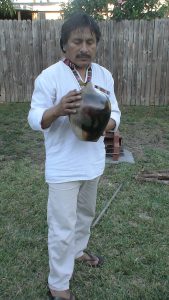
Day Six “Burnishing”
I burnish with a small polished stone, adding a bit of facial oil to shine the outside. I rub the surface repeatedly to achieve a high gloss shine. I go over the full surface at least three times, with one last polishing with facial oil. The piece must dry completely for a minimum of 2 weeks before it is fired at Cone 06.
Anterior
Siguiente
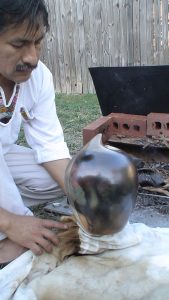
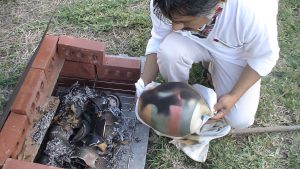
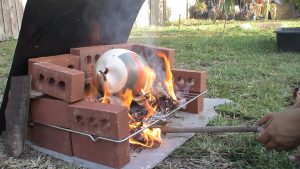
Concluding Day “Firing”
When the piece is completely dry, it can be bisque fired. The kiln can be rustic, made of adobe and fired with wood, or modern kilns using electric or gas. The piece is fired to a temperature of approx., (999-1060 ºC) or Cone 06. When cooled, the piece is smoked using a cylinder heated with burning dry tree leaves. Dried mango leaves are preferred.